
Mastering the Brush Pen: Tips and Techniques for Smooth Lettering
Why the Brush Pen Is a Calligrapher’s Favorite Tool
The brush pen is one of the most beloved tools in modern calligraphy, valued for its flexibility, portability, and ability to create dynamic thick-and-thin strokes with a single movement. Whether you’re new to lettering or transitioning from traditional dip pens, mastering the brush pen is a key step toward developing your personal style and achieving fluid, confident script.
Unlike rigid nibs, brush pens respond to pressure, angle, and speed, which gives the artist tremendous control—but also demands patience and practice. Mastery doesn’t happen overnight, but with consistent effort and the right techniques, your brush lettering can evolve into smooth, expressive, and elegant compositions.
Choosing the Right Brush Pen for Your Needs
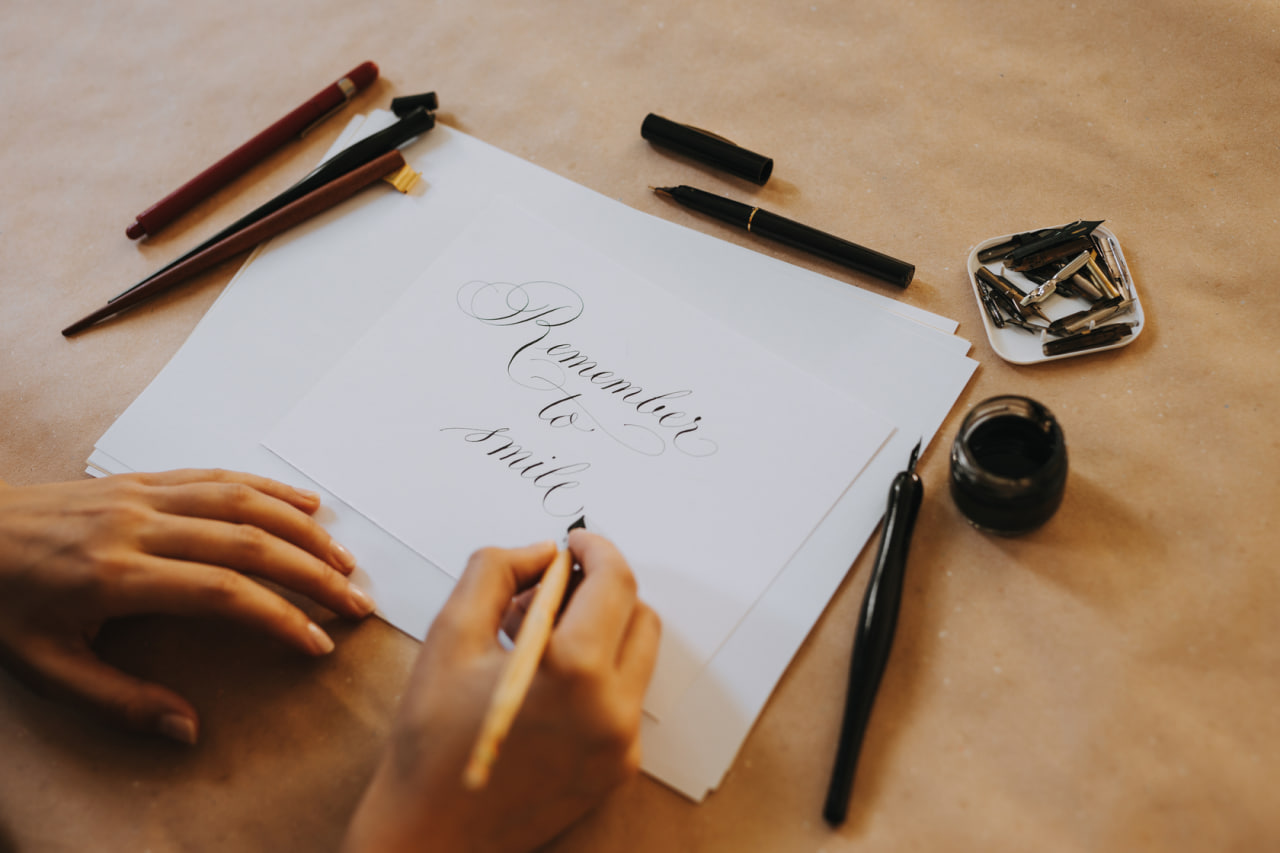
Not all brush pens are created equal. Some have soft, flexible tips that are great for bold, expressive work, while others have firmer, smaller tips that are easier for beginners to control.
For large-scale lettering, the Tombow Dual Brush Pen is a versatile choice. It offers a wide tip on one end and a fine liner on the other. For more detailed writing or journaling, the Pentel Fude Touch or the Tombow Fudenosuke provide excellent precision with their smaller tips.
Experimenting with various brands and tip types will help you understand what suits your grip, writing style, and paper choice. Many artists build a collection and use different pens for different projects, combining sizes and ink types to achieve the desired look.
Understanding Pressure Control
One of the foundational skills in brush lettering is pressure control. Pressing harder creates thick downstrokes, while applying light pressure produces thin upstrokes. This variation is what gives calligraphy its rhythmic beauty and dimension.
To practice, use drills such as the basic upstroke-downstroke exercise: draw rows of light upward lines followed by bold downward lines. Focus on consistency in line width and smooth transitions. Over time, your hand will naturally adjust pressure without conscious effort, making your lettering more fluid.
Using a slightly angled writing surface or tilting your paper can also help maintain better control over pressure and wrist movement.
Practicing Basic Strokes and Shapes
Before jumping into full words or phrases, it’s essential to master the basic strokes that form letters. Common shapes include entrance strokes, underturns, overturns, compound curves, and ovals. These are the building blocks of the alphabet and should be practiced regularly.
Repetition of these strokes helps with muscle memory and increases confidence. Use dot grid or slant guide paper to keep your strokes aligned and evenly spaced. Spend time on each shape and aim for uniformity, focusing on smooth motion and line integrity.
Practicing these elements might seem slow at first, but they lay the foundation for speed and creativity later on.
Letter Formation and Consistency
Once you’re comfortable with strokes, begin constructing letters. Start with lowercase letters, as they are more commonly used in phrases. Practice each letter separately, paying attention to stroke order, spacing, and proportions. Aim for consistency—every “a” should resemble your other “a”s.
Once you’ve mastered individual letters, practice connecting them into words. This introduces rhythm and flow to your writing, which is where brush calligraphy begins to feel more like drawing than writing.
Be patient with yourself. Even seasoned calligraphers refine their letterforms over time, and slight variations often add charm to the finished product.
Warm-Up Before Every Session
Like any artistic practice, warming up is crucial. Before starting your actual piece, spend a few minutes doing drills and basic strokes. This helps loosen your wrist, calibrate your pressure, and get into the flow of lettering.
Think of it as stretching before a workout. Skipping warm-ups can lead to shaky lines, poor pressure control, or even hand strain.
Warm-up exercises can include repeating your name, drawing ovals, practicing the alphabet, or simply writing your favorite word in different styles.
Mind Your Speed
Smooth brush lettering is not about speed; it’s about control. Slowing down helps you focus on each stroke, maintain line quality, and build muscle memory. With time, your hand will naturally pick up speed without sacrificing form.
Rushing often leads to jagged lines, uneven pressure, or letters that don’t align properly. Take your time, especially when working on final pieces. Enjoy the process and treat each word as a mini piece of art.
Holding the Pen Correctly
Your grip and hand position play a significant role in how well you control the brush pen. Hold the pen at a slight angle rather than straight up. This allows the tip to glide more smoothly and gives you better pressure control.
Your wrist should be relaxed, and your arm should move with your hand. Avoid excessive finger tension. The goal is to guide the pen with fluid, sweeping motions rather than tight, stiff grips.
If you find your hand cramping, take short breaks, stretch your fingers, and check your posture. Good ergonomics can make long practice sessions more enjoyable and sustainable.
Using the Right Paper
Brush pens perform best on smooth, bleed-resistant paper. Rough or textured paper can fray the brush tip and disrupt your strokes. For daily practice, use smooth printer paper like HP Premium 32, marker paper, or calligraphy-specific pads such as Rhodia or Canson.
When working on final projects, switch to quality cardstock or watercolor paper that suits the ink and pen you’re using. Always test a new pen-paper combination before committing to a finished piece.
Using the right paper not only improves the look of your work but also extends the life of your tools.
Experimenting with Styles and Techniques
Modern calligraphy encourages exploration. Once you’ve grasped the basics, play with different letter styles, flourishes, and layouts. Try bouncy lettering, where letters vary in baseline position, or blend colors using multiple pens or watercolor techniques.
Adding shadows, highlights, or textured backgrounds can elevate your designs. Digital brush pens, like those in Procreate, also allow for endless experimentation with layering, blending, and effects.
Don’t be afraid to break the rules and create a style that’s uniquely yours. Innovation often comes from curiosity and play.
Practicing Consistently and Tracking Progress
Like any artistic discipline, consistency is key to improvement. Set aside time each day or week to practice. Keep your old practice sheets and revisit them to see how far you’ve come.
Consider participating in daily lettering challenges or following prompts from online calligraphy communities. These can keep you inspired and expose you to new techniques or themes.
Recording your progress through a portfolio, Instagram account, or calligraphy journal is not only motivating but also a beautiful way to celebrate your creative journey.